Latex Screeding & Floor Levelling for New-Build Developments: Speed, Consistency & Handover
We explain why latex screeding is essential before new build flooring across Nottinghamshire, Lincolnshire and Leicestershire, and how we do it right.

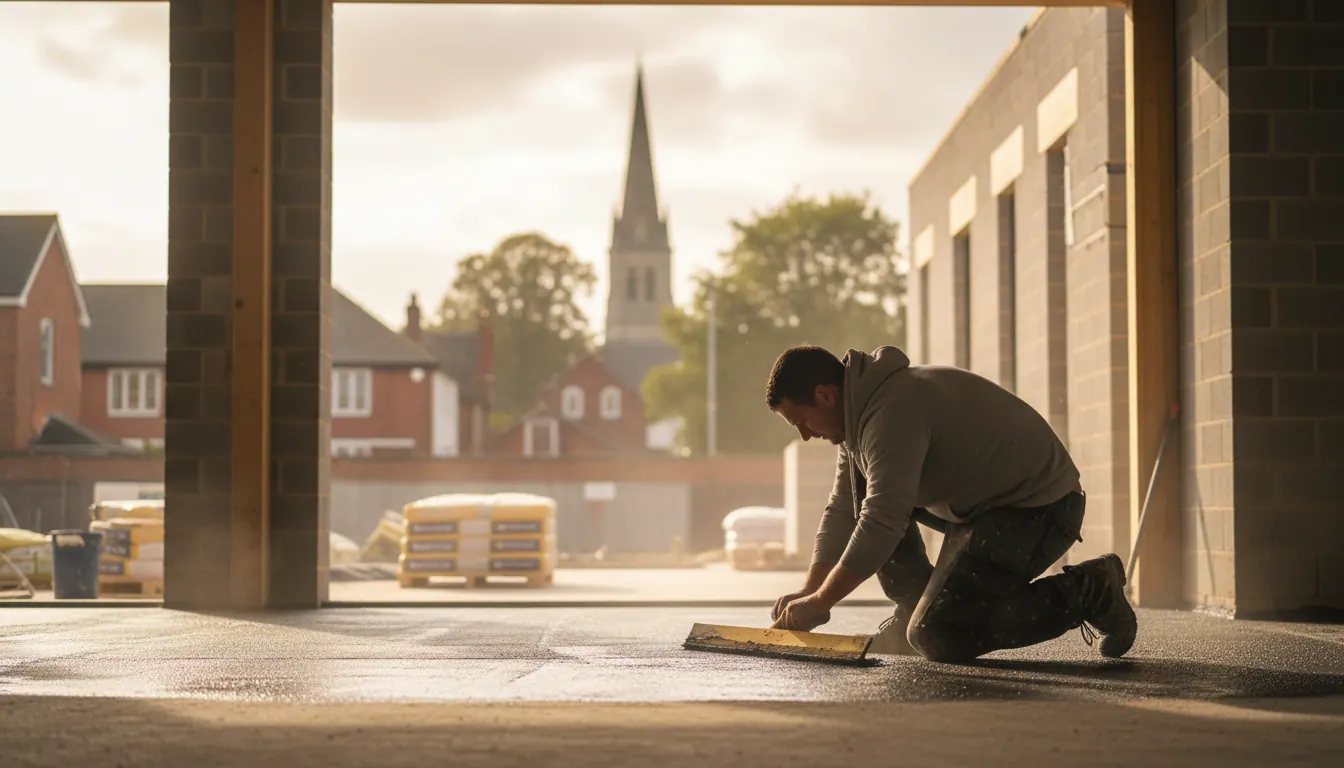
Latex Screeding for New Build Flooring: Why It Matters on Every Plot
A subfloor that looks flat to the eye can still fail a floor covering within months. On new build sites across Nottinghamshire, Lincolnshire and Leicestershire, the gap between a poured concrete slab and a surface that is genuinely ready for LVT, carpet or engineered hardwood is almost always bridged by latex screeding. Get it right and every covering beds down cleanly, stays put and looks the part through handover and beyond. Skip it or rush it and you will be back on site re-lifting finishes before the snag list is even signed off.
We carry out our own subfloor preparation on every project we take on. That includes latex screeding, surface smoothing, floor levelling and damp proof membrane installation. This article explains what latex screed actually is, why it is not the same as a traditional sand-and-cement screed, how we apply it on live new build sites, and what the drying process looks like in practice.
Are Screed and Latex the Same Thing?
No, and the distinction matters on site. A traditional sand-and-cement screed is a thick structural layer, typically poured at 50–75 mm or more, used to level a floor over a large depth difference or to encapsulate underfloor heating pipes. It needs significant drying time before any covering goes down.
Latex screed (more precisely, a latex self-levelling compound) is a polymer-modified material applied at a much thinner gauge, usually between 3 mm and 6 mm, to smooth and true up a surface that is structurally sound but not flat enough for a floor covering. It flows out under its own weight, self-levels within its working time, and cures far faster than a sand-and-cement mix.
The two products serve different purposes. On most new build plots, the concrete slab or beam-and-block floor has already achieved its structural thickness. What remains is surface irregularity: ridges, trowel marks, hollows, joint lines. That is exactly what a latex levelling compound addresses.
Why New Build Slabs Need It
Fresh concrete slabs are rarely as flat as they look. The tolerance for a floor covering like LVT is tight. Because LVT is thin (typically 2–5 mm), any ridge or hollow in the substrate will telegraph through the finished surface, creating a visible and tactile fault. Carpet is more forgiving, but even carpet over a lumpy slab will show wear patterns at high points and can shift over time where the pile is not supported evenly.
On beam-and-block floors, the joints between individual blocks create regular linear ridges that need filling before any covering goes down. On poured slabs, surface laitance, bleed water marks and inconsistent trowelling all create a surface that needs correcting.
Across the East Midlands, where new build activity has been strong along the A1 corridor, around the edges of Newark-on-Trent, and in expanding settlements across Lincolnshire and Leicestershire, we see a wide range of slab quality. Some sites are well-prepared; others are handed over to us with significant variation across the floor plane. Our job is to bring every plot to the same standard before a single plank or tile goes down.
How We Apply Latex Screed on a New Build Site
The process is straightforward when it is done properly, but there are several steps that cannot be cut.
Surface preparation first. The slab must be clean, free of dust, grease, release agents and any loose material. We vacuum and, where necessary, grind back high spots before we do anything else. A contaminated surface will prevent the latex from bonding, and a debonded screed is worse than no screed at all.
Priming. A primer coat is applied and allowed to become touch-dry. This seals the porosity of the concrete and creates the mechanical key the latex compound needs to adhere. On highly porous or dusty slabs, a second coat is sometimes needed.
Mixing. Latex levelling compounds are typically supplied as a powder that is gauged with a liquid latex additive (or in some cases water, depending on the product). The mix ratio is critical: too wet and the compound shrinks and cracks on drying; too stiff and it will not flow properly. We mix to the manufacturer's specification every time.
Pouring and spreading. The compound is poured and spread with a gauge rake set to the required depth. It then flows under its own weight to find its level. On larger areas, we work in bays, keeping a wet edge to avoid cold joints. The compound is usually walkable within a couple of hours, though this varies with product and site temperature.
Feathering edges. Where the screed meets a doorway or transitions to an area that does not need levelling, we feather the edge down to zero. A hard edge at a transition point will create a trip hazard and a visible ridge under the covering.
How Can You Tell If a Latex Screed Is Dry?
Drying time is one of the most common questions we get from site managers, and it is also one of the most commonly misunderstood. Most latex self-levelling compounds are described as ready for foot traffic within one to two hours and ready for floor coverings within 24 hours under normal conditions. That is a guide, not a guarantee.
The actual drying time depends on:
- Ambient temperature. Below 10°C, drying slows significantly. On unheated new build plots in a Nottinghamshire winter, 24 hours may not be enough.
- Ventilation. Good airflow accelerates drying. Sealed, damp plots slow it down.
- Thickness. Thicker applications take longer. A 6 mm pour will take longer to cure than a 3 mm skim.
- The specific product. Different compounds have different chemistry and different drying profiles.
We check moisture levels before we lay any covering, using a calibrated hygrometer. For LVT in particular, the relative humidity of the screed must be within the floor covering manufacturer's stated tolerance before installation begins. Fitting over a screed that is still releasing moisture is one of the most reliable ways to cause a floor covering to fail.
What a Good Latex Screed Does for Plot Turnaround
For developers and site managers, the practical value of latex screeding is speed and consistency. A well-applied compound can take a plot from rough slab to installation-ready in 24–48 hours. That is a tight window, but it is achievable when the preparation is done properly and the site conditions are right.
We work Monday to Friday and plan our visits around your programme. On multi-plot sites, we can sequence our preparation work to stay ahead of the installation schedule, so that by the time we return to lay the floor coverings, every plot is at the right moisture level and the right surface flatness. That kind of coordination reduces delays, reduces snagging and keeps handover on track.
"Nathan and team provided an exceptional service and a high quality flooring finish. Despite the difficulties with the under flooring they were professional, knowledgeable and dedicated to ensuring they completed the job." , Joe Crutchley
That review captures something we hear regularly. Subfloor problems are not always predictable, and the ability to work through them without stalling the programme is what separates a reliable flooring subcontractor from one that creates delays. Joe's project involved underfloor difficulties that required exactly that kind of problem-solving. We got it done.
Latex Screeding Alongside DPM Installation
On new build plots where ground-bearing slabs are involved, moisture rising from below is a real risk. Latex screed does not act as a damp proof membrane. Where moisture is present, a DPM must go down first, bonded to the slab, before any levelling compound is applied. The sequence matters: DPM, then prime, then screed, then floor covering.
We install DPM as part of our subfloor preparation service, so we handle the whole sequence ourselves rather than leaving it to be coordinated between trades. That reduces the risk of the wrong product being applied in the wrong order, which is a common source of floor covering failures on site.
For more detail on why subfloor preparation is non-negotiable in older properties as well as new builds, our article on damp proof membranes and floor levelling in older Newark and East Midlands properties covers the reasoning in full. And if you are specifying flooring across a new build development, our guide to flooring for new build homes across Nottinghamshire and Leicestershire covers the wider specification questions developers and site managers regularly raise.
Frequently Asked Questions
Is latex screed the same as a sand-and-cement screed? No. Sand-and-cement screed is a thick structural layer, typically 50 mm or more, used to level over significant depth. Latex self-levelling compound is a thin polymer-modified material, usually applied at 3–6 mm, used to smooth and true up a surface that is structurally sound but not flat enough for a floor covering. They solve different problems.
How long does latex screed take to dry before flooring can go down? Most products are ready for floor coverings within 24 hours under normal conditions (roughly 18–20°C with good ventilation). Cold, damp or poorly ventilated sites take longer. We always check moisture levels before installation rather than relying solely on the clock.
Does a new build slab always need latex screeding before LVT? Not always, but in practice most do. LVT is thin enough that any surface irregularity telegraphs through to the finished floor. We assess each slab before committing to a method, and we will tell you honestly if a plot does not need levelling compound, or if it needs more than a standard skim.
Can latex screed be applied over underfloor heating? Yes, and it is often the right choice for finishing a UFH installation. The compound flows around pipe runs and creates a flat surface above them. The system must be off during application and during the initial curing period. We follow the UFH manufacturer's guidance on when the system can be recommissioned after screeding.
If you are a developer, contractor or site manager planning a new build flooring programme across Nottinghamshire, Lincolnshire or Leicestershire, we are happy to discuss your specification and programme requirements. Get in touch with us to arrange a site visit or to talk through what your plots need.